Getting a website into Google's search index is not a matter of pressing a secret button. Google must first discover a URL, be able to retrieve it, process its content and decide whether that page belongs in its index. You can improve the conditions for those steps, but you cannot force Google's decision.
This guide is designed for a new website, a newly published page, or a site whose important URLs are missing from Google. It separates the actions within your control from the signals you should monitor afterward.
Before you begin: three different questions#
Can Google discover the URL? An address may be absent from your sitemap, poorly linked, or simply too new for Google to know about.
Can Google crawl and process the URL? A firewall, robots.txt directive, authentication screen, server failure, or rendering issue may stop Google from retrieving useful content.
Will Google index the page? Even a crawlable 200-status page may be left out if Google selects another canonical URL, finds little unique value, or otherwise does not select it for indexing.
The third step is not a promise made by either Google Search Console or an external submission provider.
Step 1: Identify the exact URL that should appear#
Choose the preferred address before troubleshooting. https://example.com/guides/widget-maintenance/ and the same path with a query string can be separate URL variants. Decide which version should be canonical, then ensure that links, sitemap entries, redirects, and canonical signals agree.
Create a small test list: the home page, a category page, an important article, and one freshly published page. For each, record the exact URL and its purpose. This prevents you from confusing a duplicate URL with the page you actually want indexed.
Step 2: Verify your site in Google Search Console#
Add the appropriate property in Google Search Console. A Domain property is useful for monitoring hostnames and protocols together. Complete DNS verification or the verification method that fits your setup.
Open URL Inspection, paste one exact URL and read Google's recorded information. Look for whether the URL is on Google, the last crawl, whether crawling is allowed, whether indexing is allowed, and the user-declared and Google-selected canonical URLs where available. The inspection result reflects Google's known state, which may lag behind the page you see now.
Use Test Live URL to examine current accessibility, but do not confuse a successful live test with confirmation of indexing. A live test checks conditions; it is not a promise that Google will include the page.
Step 3: Confirm an accessible, meaningful page#
Open the page in a private browser window and check the response. A public page should not require a login or rely on a visitor-only cookie. For a typical indexable HTML document, you generally want a 200 OK response that contains substantive content.
A quick terminal check:
curl -I https://example.com/guides/widget-maintenance/
Be careful: curl -I requests headers with HEAD, while Google normally fetches page content with GET. Some servers handle the methods differently. If the HEAD response looks unusual, make a normal GET request and inspect server logs or use URL Inspection. A 200 alone is not sufficient: a page can return 200 while displaying a “not found” message, creating a soft 404.
Step 4: Remove accidental crawl and indexing blocks#
Review robots.txt at https://example.com/robots.txt. Make sure the path is not disallowed for Googlebot. Then inspect the HTML response for a robots meta directive:
<meta name="robots" content="noindex">
Also examine the HTTP X-Robots-Tag header, especially for non-HTML files. A noindex directive instructs search engines not to index the resource when they are able to crawl and read the directive. Do not use robots.txt as a substitute for noindex: if crawling is blocked, Google may be unable to see that meta directive.
If a CDN or security plugin presents challenges to Googlebot, investigate verified crawler requests and your protection rules instead of switching off security globally.
Step 5: Check canonical and redirect consistency#
A canonical element expresses your preferred indexable version:
<link rel="canonical" href="https://example.com/guides/widget-maintenance/">
It is a signal, not an absolute command. Verify that the canonical target loads successfully, has matching content intent, and is not blocked from indexing. Avoid pointing every page to the home page. If you have moved a URL permanently, use a relevant server-side redirect and update internal links to the destination.
Compare your declared canonical with Google's selected canonical in URL Inspection. If Google chose another page, first determine whether that is correct. Indexing every duplicate variant is usually not the goal.
Step 6: Give the page useful, distinct content#
Ask whether a reader would gain something from this page that cannot easily be obtained from another URL on your site. Original product details, screenshots, instructions, examples, credible references, and answers to real questions can make a page more valuable. Avoid producing near-identical location, tag, filter, or template pages merely to expand your URL count.
For JavaScript-heavy sites, verify that the key text and links appear in Google's rendered view. A browser displaying a page after user interaction does not prove Google can extract the same content reliably. Server-rendered or prerendered important content can reduce unnecessary rendering dependencies.
Step 7: Build crawlable internal links#
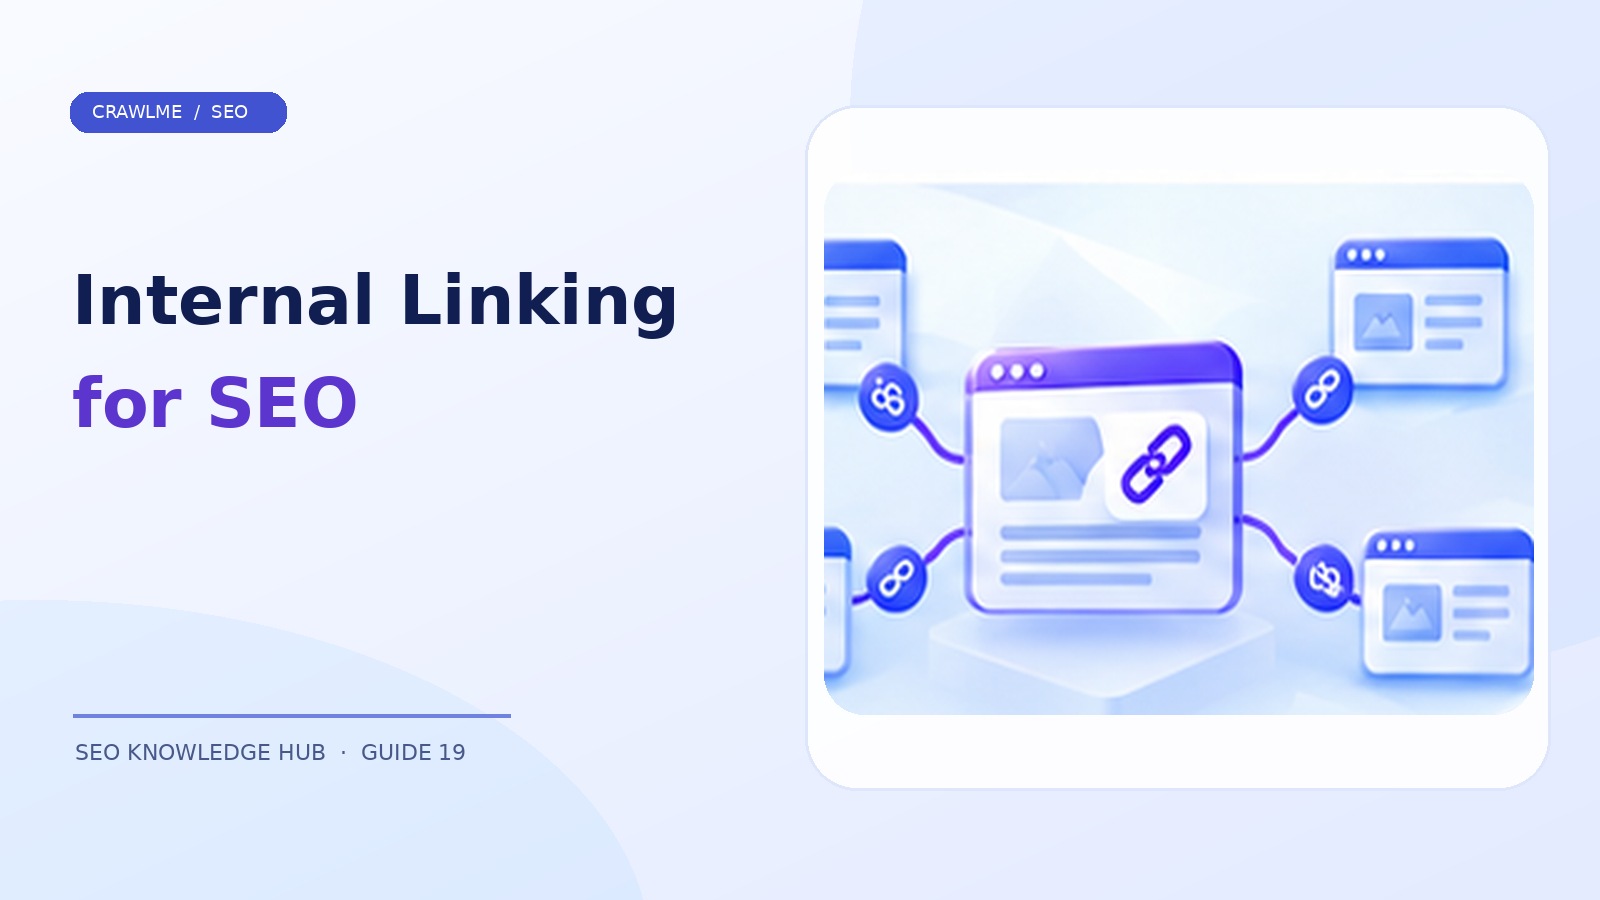
Add a normal HTML link from a relevant, already discoverable page:
<a href="/guides/widget-maintenance/">Widget maintenance guide</a>
Link from a category hub, a parent guide, or a genuinely related article. Use descriptive anchor text and ensure links exist in the version of the page served to mobile users. Pages only accessible through an internal search box, a POST form, or JavaScript click handlers can be much harder for crawlers to discover.
A sitemap helps discovery, but it should not replace logical navigation and contextual links.
Step 8: Create a clean XML sitemap#
A minimal example:
<?xml version="1.0" encoding="UTF-8"?>
<urlset xmlns="http://www.sitemaps.org/schemas/sitemap/0.9">
  <url>
    <loc>https://example.com/guides/widget-maintenance/</loc>
    <lastmod>2026-11-10</lastmod>
  </url>
</urlset>
Include preferred, indexable URLs. Keep lastmod truthful: update it when meaningful page content changes, not automatically on every sitemap request. Submit the sitemap in Search Console and verify that Google can fetch it. If your CMS generates sitemaps automatically, audit the output before creating another one.
Large sites can split sitemap files by content type or section. The grouping makes maintenance and debugging easier; it does not confer indexing priority by itself.
Step 9: Request indexing appropriately#
For a small number of URLs that you own or manage, use URL Inspection's Request indexing option when available. Google applies quotas, and repeatedly requesting the same unchanged URL is not a shortcut. For many URLs, a maintained sitemap is the normal official discovery route.
The official Google Indexing API is a separate, restricted mechanism intended for pages with JobPosting or BroadcastEvent embedded in VideoObject markup. It is not a general-purpose endpoint for arbitrary articles, product pages, or backlinks.
Step 10: Monitor outcomes without making assumptions#
Check Search Console's Page indexing report and revisit selected URLs in URL Inspection. It can take days or weeks for Google to process requests and reflect changes. Log the original finding, your action, the date, and the subsequent observed state. Do not label a page “indexed” solely because a tool acknowledged a submission.
A practical tracking table#
| URL | Initial state | Change made | Date | Verification source |
|---|---|---|---|---|
/guides/widget-maintenance/ |
Discovered, not indexed | Added category link | Nov 10 | URL Inspection |
/products/model-a/ |
Duplicate canonical | Corrected canonical signals | Nov 10 | URL Inspection |
/help/shipping/ |
Noindex | Removed accidental directive | Nov 10 | Live test + follow-up |
When CrawlMe fits into the workflow#
Once a URL is public, technically accessible, and worth indexing, teams often need an organized way to submit and manage larger URL sets. CrawlMe offers credit-based bulk URL submission and API-oriented workflows. Use it as a workflow tool alongside proper technical SEO—not as a substitute for fixing access problems or as a promise of Google inclusion.
Frequently asked questions#
How long does Google indexing take?#
There is no fixed deadline. Discovery, crawling, processing, and selection vary by site and URL; Google notes that requesting a recrawl can take days to weeks.
Is a sitemap enough to get indexed?#
No. Sitemaps help search engines discover preferred URLs but do not guarantee crawling, indexing, or rankings.
Should I keep resubmitting the same page?#
No. Investigate the reported problem, make meaningful corrections, and allow Google time. Repeated identical requests do not speed up crawling.
Can a page be indexed without appearing for my target keyword?#
Yes. Indexing and ranking are separate. A URL can be indexed but rank too low to appear in the results you check.
Final checklist#
- Preferred URL and canonical signals agree.
- Page returns usable content without authentication.
- Robots directives and firewall settings permit Googlebot.
- Page offers distinct value and renders important content.
- At least one relevant, crawlable internal link points to it.
- Sitemap contains its preferred URL and accurate metadata.
- Search Console provides a baseline and follow-up record.
- No tool's submission receipt is mistaken for indexing proof.
Bottom line: Improve discoverability and indexability first; use submission as a supporting step, then observe what Google actually does.